Note: This feature is only available to Enterprise customers, as well as customers on the PDF Plus, Sign Plus or higher plans.
Prerequisites:
Your account must have a verified domain in order to set up and enable SSO. Review this article for instructions on verifying your domain.
Step 1: Create a new application on Entra ID
- Log in to the Microsoft Azure Portal
- Go to Microsoft Entra ID
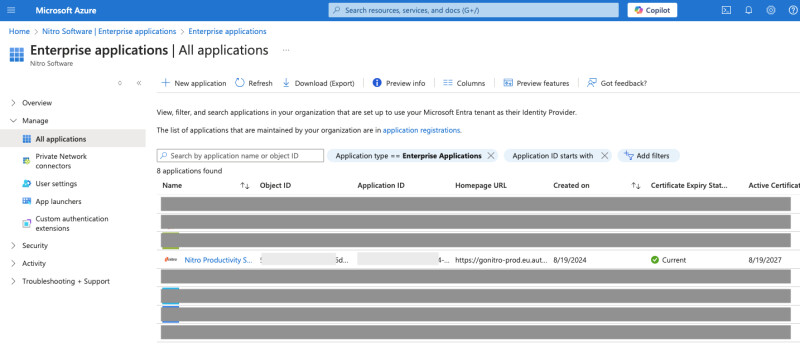
- Navigate to Enterprise applications > All applications.
- Add Nitro Productivity Suite application
Navigate to SAML SSO section on Nitro Productivity Pro
Enter the following placeholder values:
- SAML Entity ID:urn:auth0:gonitro-prod:123
- ACS URL: https://gonitro-prod.eu.auth0.com/login/callback?connection=123
These will be updated later in Step 3.
- Download the Base 64 Cert from Box 3.
- Copy Login URL from Box 4.
Step 2: Set Up SAML SSO in the Nitro Admin Portal
- Log in to the Nitro Admin Portal
- From the left navigation pane, go to Settings, then navigate to the Single Sign-On tab.
- Click the Edit Configuration button.
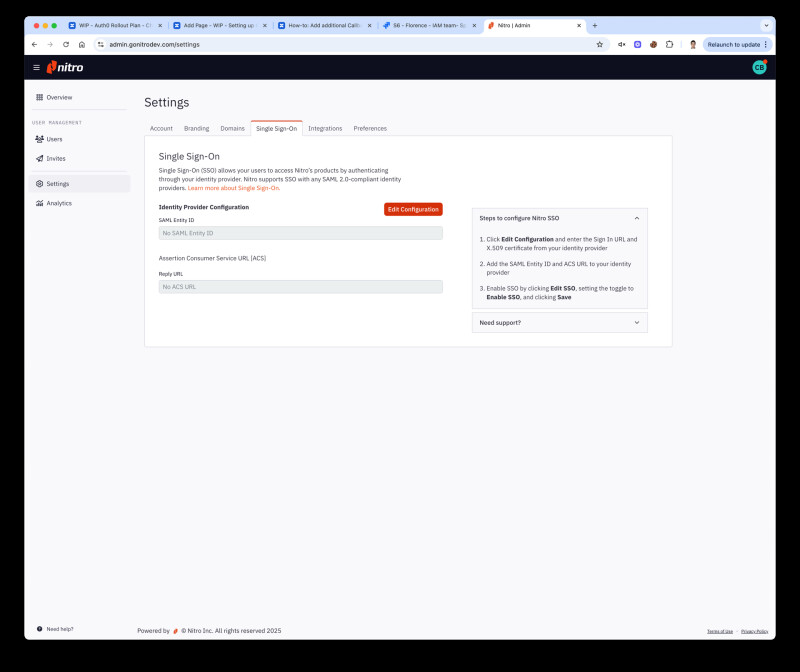
- Paste the Login URL copied from Entra into the Sign-in URL field.
- Upload the Base 64 Cert downloaded from Entra into the X.509 Signing Certificate field.
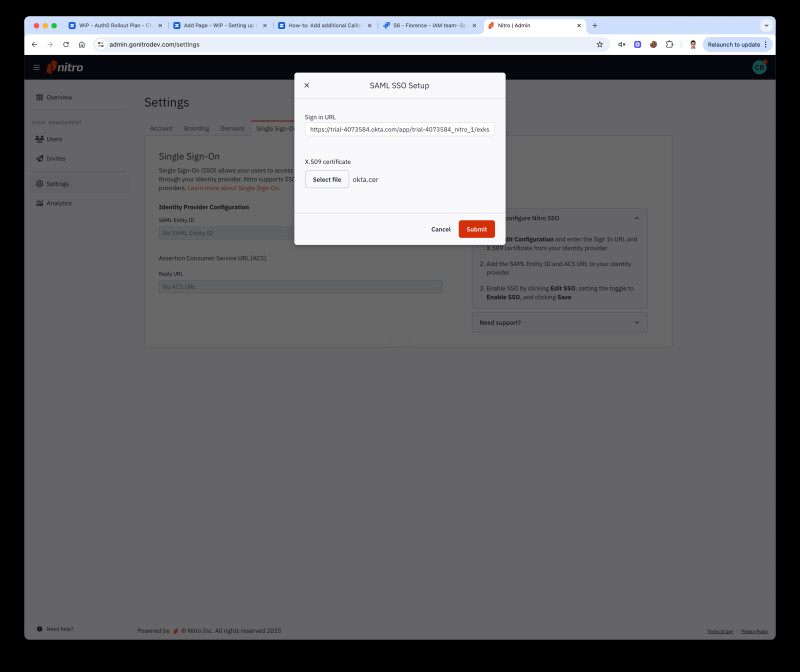
5. Click Submit and Enable SSO, then click Save.
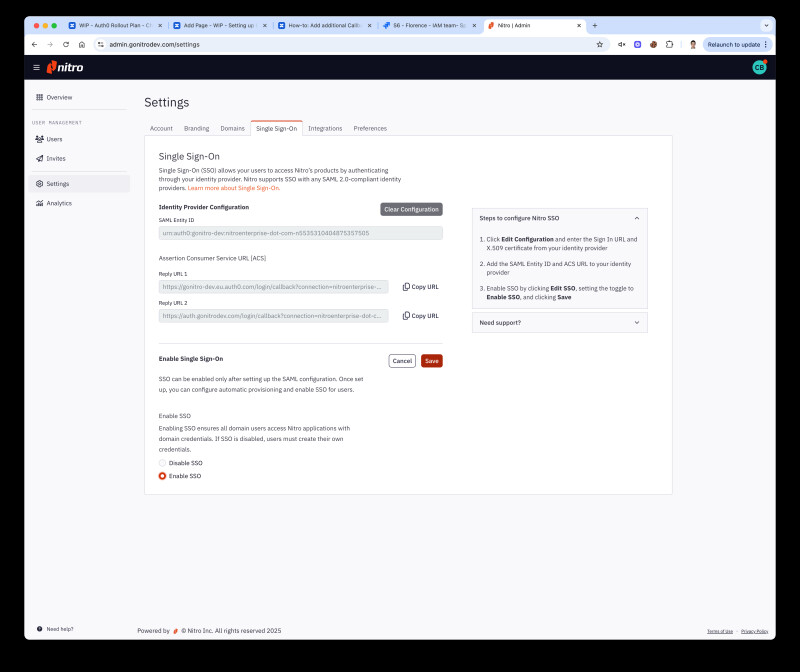
Copy the following values for use in the next step:
- Entity ID
- Reply URL 1
- Reply URL 2
Step 3: Update SAML Settings in Entra
- Go back to Microsoft Entra ID
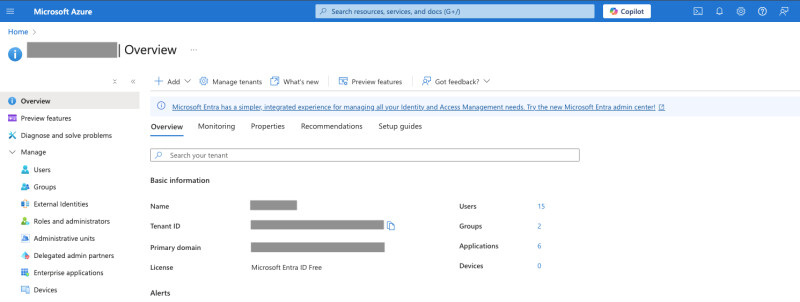
2. Navigate to Enterprise applications > All applications > Nitro Productivity Suite
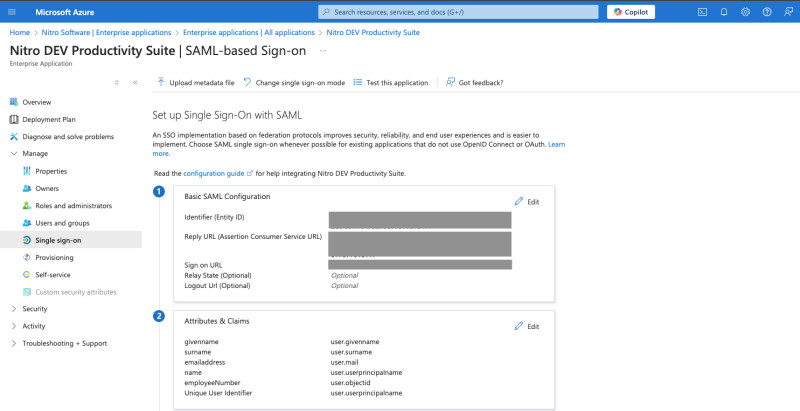
- Under the Manage menu, click Single sign-on.
- Click Edit on Basic SAML Configuration
Update the placeholder values using the values copied from Nitro Admin:
- Paste SAML Entity ID to Identifier (Entity ID)
- Paste both Reply URL 1 and Reply URL 2 to under Reply URL (Assertion Consumer Service URL)
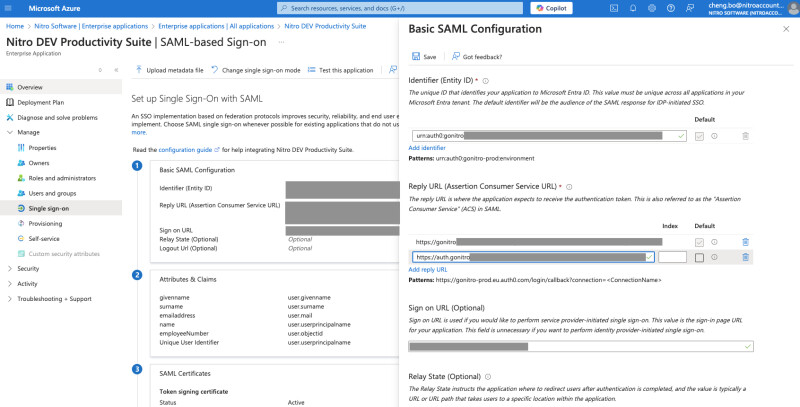
- Save Changes